How to Install a Wireless Router to a Laptop

A wireless router is a networking device that operates as a gateway joining your laptop and your high-speed modem. It also acts as a wireless access point that communicates with your wireless devices (such as game consoles) and your laptop, connecting them to your wireless network. Before you can use your wireless router with your laptop, you must connect the laptop, modem and wireless router using Ethernet cables, and configure the wireless router's settings.
Things You'll Need:
- High-speed modem Ethernet cables
- Step 1
Connect the high-speed modem to the wireless router. Turn off and unplug your cable modem's power before connecting it to your wireless router with an Ethernet cable. Plug the Ethernet cable into the Ethernet jack on the back of your high-speed modem and plug the other end into the Internet/Modem port on the back of your wireless router. This port is usually next to the wireless router's power jack.
- Step 2
Connect your laptop to the wireless router using another Ethernet cable. Shut down your laptop before connecting it to the wireless router. Plug the Ethernet cable that came with your wireless router into your laptop's Ethernet jack, which is located on the back of your laptop. Plug the other end of the Ethernet cable into one of the LAN ports on the back of your wireless router. Wireless routers have several LAN ports; it does not matter which one you use.
- Step 3
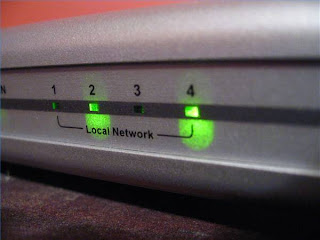
First, turn on your high-speed modem, then wait 2 minutes. This gives the modem time to connect to your Internet service provider's server. Make sure your modem's status lights show that it has successfully connected. Next, plug the wireless router's power adapter into the wireless router and into a power outlet. Wait 2 minutes for your wireless router to recognize your modem. You will know that it has successfully connected if all of the lights on the front of the wireless router are on. Finally, turn on your laptop. If you do not turn on these devices in this order, you may not be able to connect to the Internet.
- Step 4
Log on to the wireless router's URL. Open up a web browser on your laptop. In the address bar, type in the wireless router's address, which can be found in the router's manual or the manufacturer's website. Press "Enter" or click "Go." This will make your laptop communicate with the router and load the router's settings page.
- Step 5
Input the username and password. After you enter the wireless router's URL, a dialog box will appear requiring you to enter a username and password. Most wireless routers' default username is "admin" and the default password is "password" or is left blank. Keep in mind that the text boxes are case-sensitive.
- Step 6
Configure your router's settings and wireless settings. Depending on the brand of your wireless router, the page may automatically load a setup wizard to complete configuration of the router. Simply follow the onscreen instructions, then log out of the page to finish installing the router to your laptop. Otherwise, you can insert the wireless router's installation CD and follow its instructions.

0 Comments:
Post a Comment
Subscribe to Post Comments [Atom]
<< Home